How to Install WAMP Server On Windows 10
The most popular web hosting applications can be installed on your local PC, which helps in designing a website on a PC to test before migrating to an online platform or Cloud base and can be used on Windows PC WampServer.
Once you have downloaded installed and configured the WAMP server on your localhost machine, you can easily work with any Content Management System (CMS) like WordPress, Drupal, Joomla, and more.
Note: In order for you to successfully install and run the WAMP server make sure that you have Visual C++ Redistributable installed on your local PC.
What is WampServer
WampServer allows you to create web applications with Apache2, PHP and a MySQL database. With, PhpMyAdmin allows you to create Databases easily. To use the Wampserver the recommended Prerequisites for Installing Wampserver must be followed.
How do I start WampServer on Windows 10?
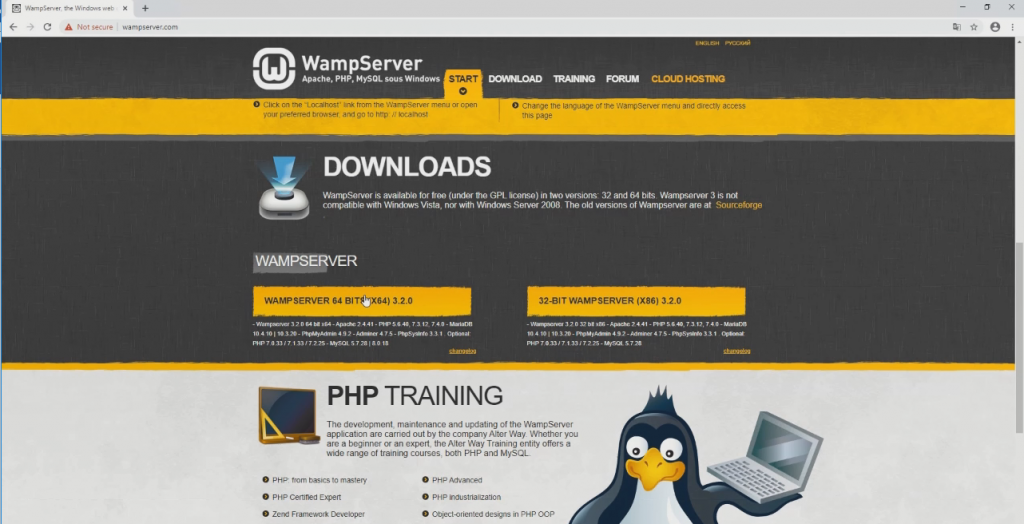
1. To download the WAMP Server, visit the “Wamp Server” website in your web browser.
2. Click on the “WampServer 64bit .
<
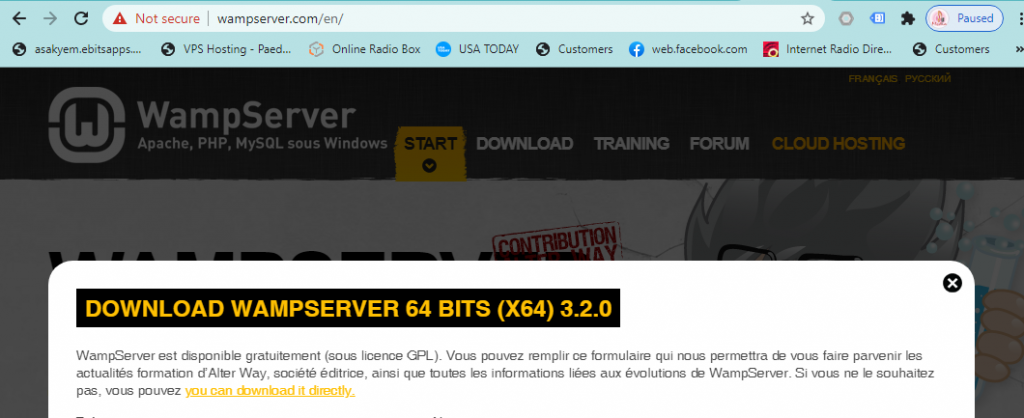
3. Now, click on the “download directly” link to start downloading.
<
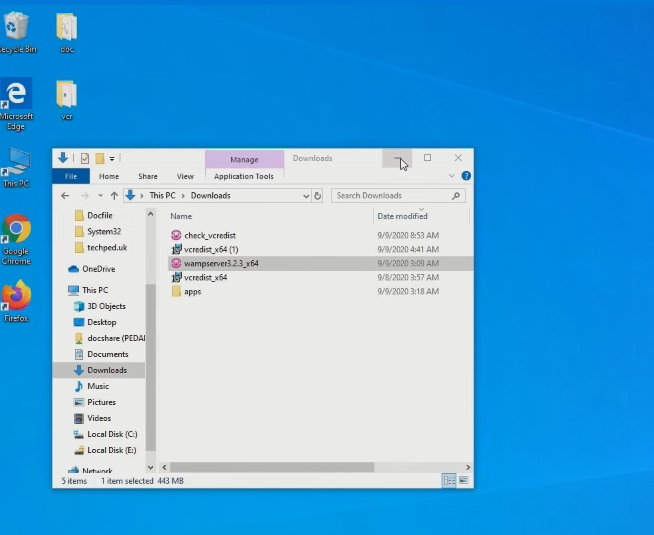
4. Double-click the downloaded file to launch the WAMP installer.
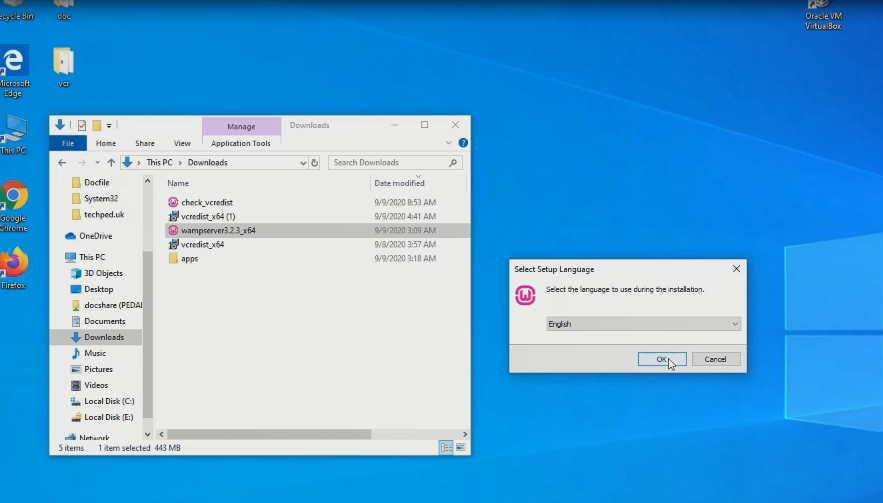
5. “Select Setup Language” window will appear on the screen and then choose your preferred language.
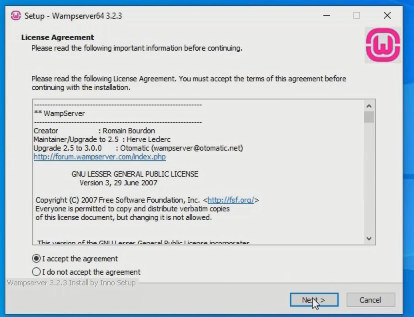
6. Under the “License Agreement”, click on the “I accept the agreement” radio button and then click on the “Next” button.
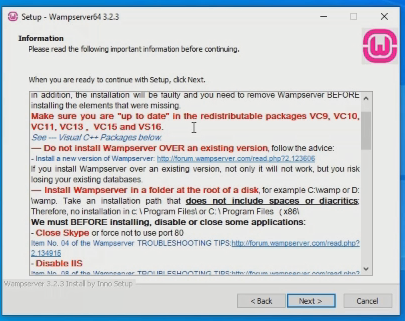
7.Click on the “Next” button.
Tip:-
WampServer” setup ensures that the required components “Microsoft Visual C++ Redistributable” must be installed on your system for the WampServer to function correctly.
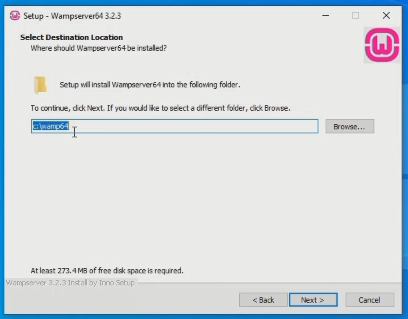
8. Choose a location (folder) to install the WAMP server and click on the “Next” button.
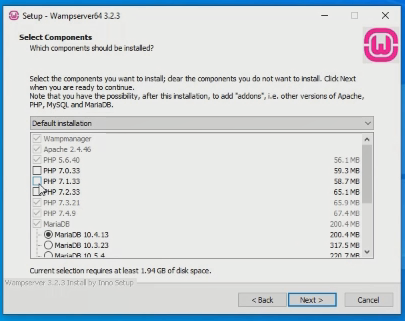
9. Select the components that you want to install and click on the “Next” button.
10. Select the start menu folder.
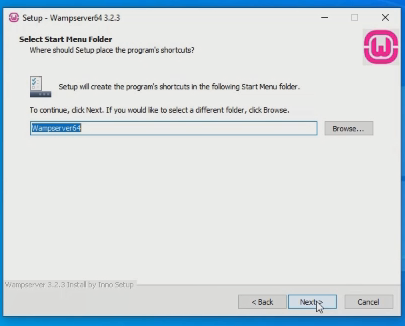
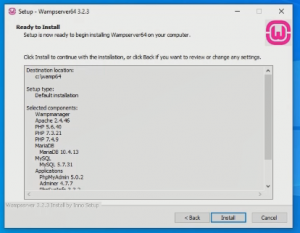
11. “Ready to Install” window will appear on the screen and then, click on the “Next” button.
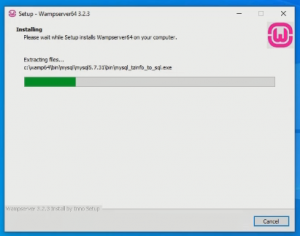
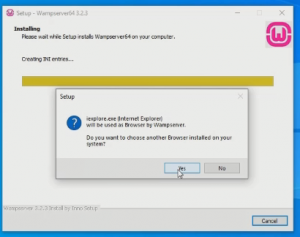
12. Now, select the default browser and default text editor for the WampServer.
13. Click on the “Finish” button.
Also, you can Create a Database Using WampServer On Windows 10 and create a username and Password to access the Database after that then Installing WordPress on WampServer you Download Wampserver and Install on your Computer, and to know the process when you Start-up your local webserver read on: Configuration Process of WAMP Server and learn more when your start the wampsarever the error manages pop and how to solve read on how to Fix an Issue of Apache not Working.
Conclusion
Now, you must have an idea of How to Install WAMP Server On Windows 10. Ask your questions in the comments below. Try to follow us on Facebook, Instagram , and Twitter. Also if the post has helped you Kindly subscribe to our YouTube channel to continue learning.
WATCH Video
How to Install WAMP Server On Windows 10
More Video

